Quick Facts
- DIY Cost: Under $10 for a zipper repair kit vs. $30–$100 for professional labor.
- Common Fix: Slider compression or replacement solves 70% of most zipper issues.
- Sustainability: Repairing gear for 9 months reduces its total carbon, waste, and water footprint by approximately 20% to 30%.
- Core Tools: Needle-nose pliers, a seam ripper, and zipper-specific lubricant.
- Component List: Typical kits include #3, #5, and #10 coil and Vislon sliders plus top and bottom stops.
- Field Tip: Use unscented lip balm or wax as a temporary field maintenance lubricant.
Whether it is a stuck tent door or a splitting jacket, outdoor gear zipper repair is a skill every adventurer needs to master. Zipper-related issues account for 70% of all repairs handled by specialized technical outdoor equipment repair centers, but many of these problems are actually DIY-friendly. To fix a zipper that separates while zipping, the slider usually needs to be tightened because the side walls have stretched out over time. Use needle-nose pliers to gently compress the sides of the slider, which helps it properly engage and lock the zipper teeth back together.
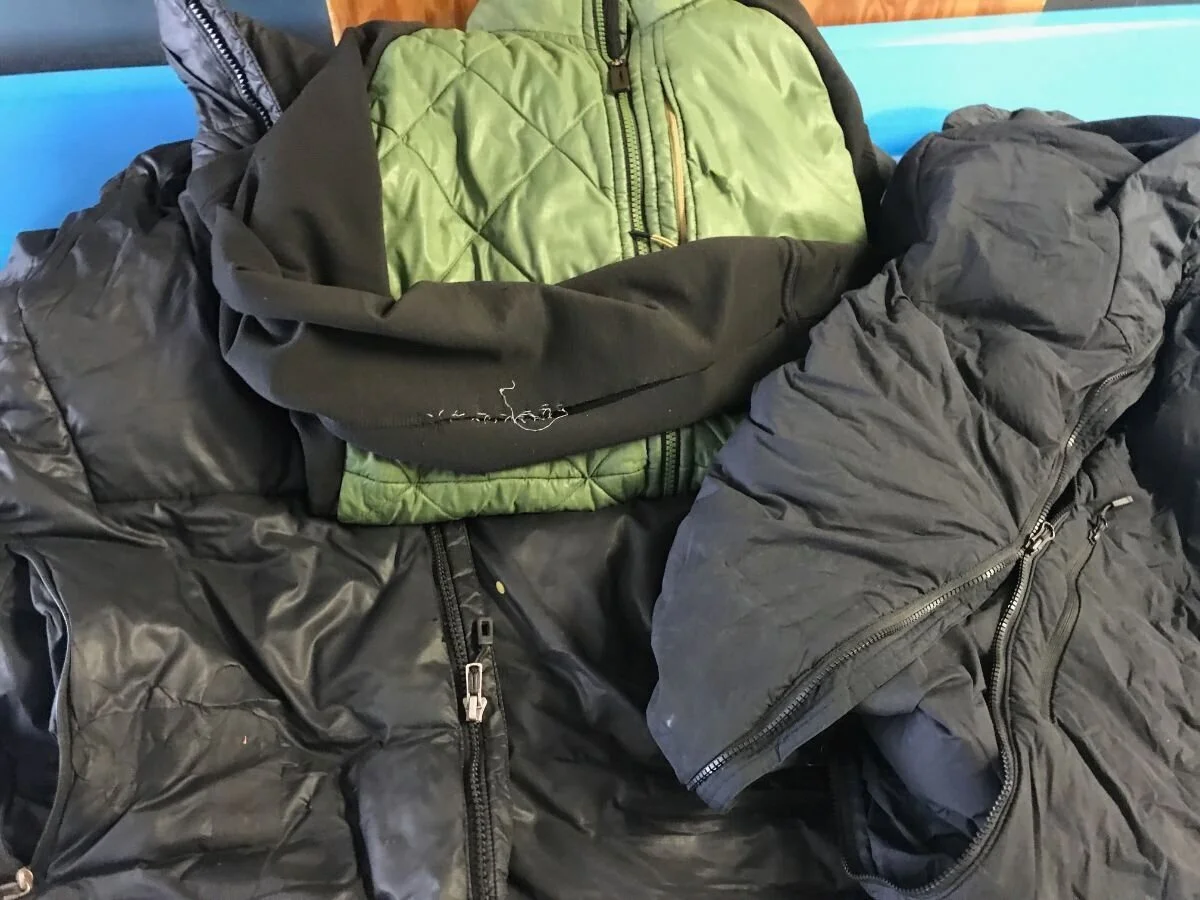
Decoding Your Gear: How to Identify Zipper Sizes
Before you can fix anything, you have to know what you are working with. According to a survey of 500 Americans, 54% of participants would attempt to fix a broken zipper on a favorite jacket themselves. However, the biggest hurdle to a successful repair is buying the wrong parts. Not all zippers are created equal; they vary by material, size, and brand.
Most technical outdoor gear uses YKK model numbers to categorize sliders. You can usually find these numbers stamped directly onto the back of the slider itself. If you see a number 3, 5, or 10, that refers to the gauge (the width of the teeth in millimeters). A #3 is typically used for internal pockets or ultralight gear, while a #10 is found on heavy-duty duffels or tent doors.
You also need to distinguish between different zipper types. Nylon coil zippers are made of a continuous plastic loop and are common on sleeping bags and light jackets. Conversely, Vislon sliders are designed for molded plastic teeth that look like individual blocks. If you try to put a Vislon slider on a coil track, it simply will not work. Knowing how to identify zipper slider size and model number is the essential first step before purchasing a zipper repair kit.
The Triage Checklist: Diagnose Your Zipper Failure
Every zipper failure has a specific symptom and a corresponding cure. Before you reach for the needle-nose pliers, take a moment to inspect the hardware. If the zipper is just hard to pull, it likely just needs cleaning and lubricating outdoor gear zippers to remove grit and salt. If the teeth are physically missing or the fabric tape is torn, you are looking at a much more complex sewing job that might require a professional.
| Symptom | Primary Cause | Solution |
|---|---|---|
| Slider moves but teeth don't lock | Loose/worn slider walls | Slider compression or replacement |
| Zipper is stuck or very stiff | Dirt, sand, or lack of lube | Gear Aid cleaner and lubrication sticks |
| Slider is off one side of the track | Missing or broken top stop | Re-install slider and new top/bottom stops |
| Teeth are bent or missing | Mechanical trauma | Professional replacement |
Effective field maintenance starts with keeping the tracks clean. If you have been camping in sandy or salty environments, the tiny grains act like sandpaper on the metal slider. Over time, this friction wears down the internal dimensions of the slider, leading to the dreaded "splitting zipper."
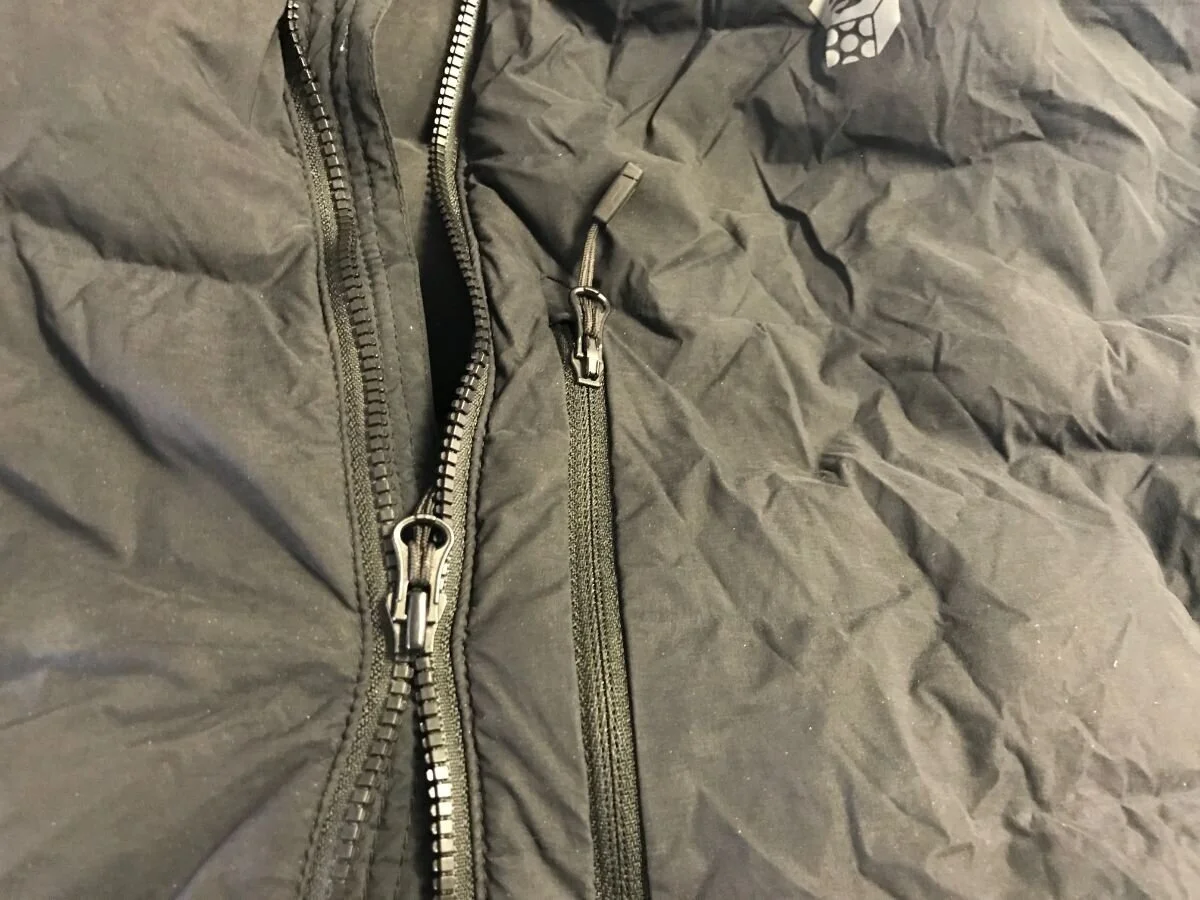
Emergency Field Fixes for Campers and Hikers
There is nothing quite like a tent door failing in the middle of a rainy night. When you are miles from a repair shop, you need a tent zipper repair guide for camping trips that relies on the tools in your pack. If your zipper begins to split, the most common reason is that the slider has lost its "pinch."
To perform an emergency fix, pull the slider back to the start of the zipper. Use your needle-nose pliers to provide a very small amount of pressure to the top and bottom of the slider. You want to bring the metal plates closer together so they can force the zipper teeth alignment back into place. Be careful here—if you squeeze too hard, you can crack the metal or jam the slider so it cannot move at all.
For a stuck sleeping bag zipper in the field, look for a snagged piece of fabric first. If there is no snag, the metal is likely just dry. You can use emergency lubrication sticks or even unscented chapstick to help the slider glide. This is a temporary measure, but it is often enough to keep you warm until you get home. Learning how to fix a separated zipper with pliers is a foundational skill that can save an expensive trip from a mechanical disaster.
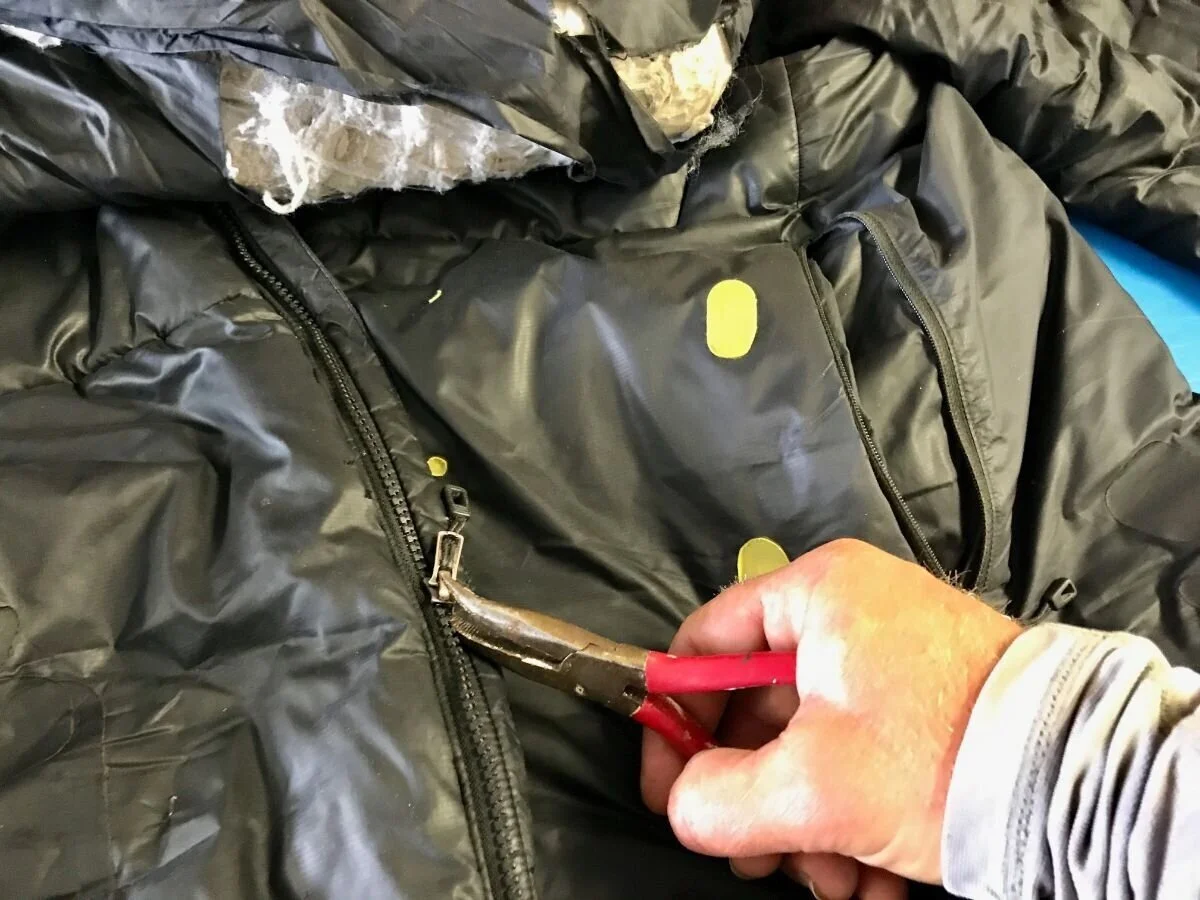
Permanent Home Repair: Replacing the Slider
If compression does not solve the problem, the metal is likely too worn out. In this case, you must replace zipper slider components entirely. This is a permanent fix that can make a ten-year-old jacket feel brand new. To do this, you will need a zipper repair kit that matches your gear's size.
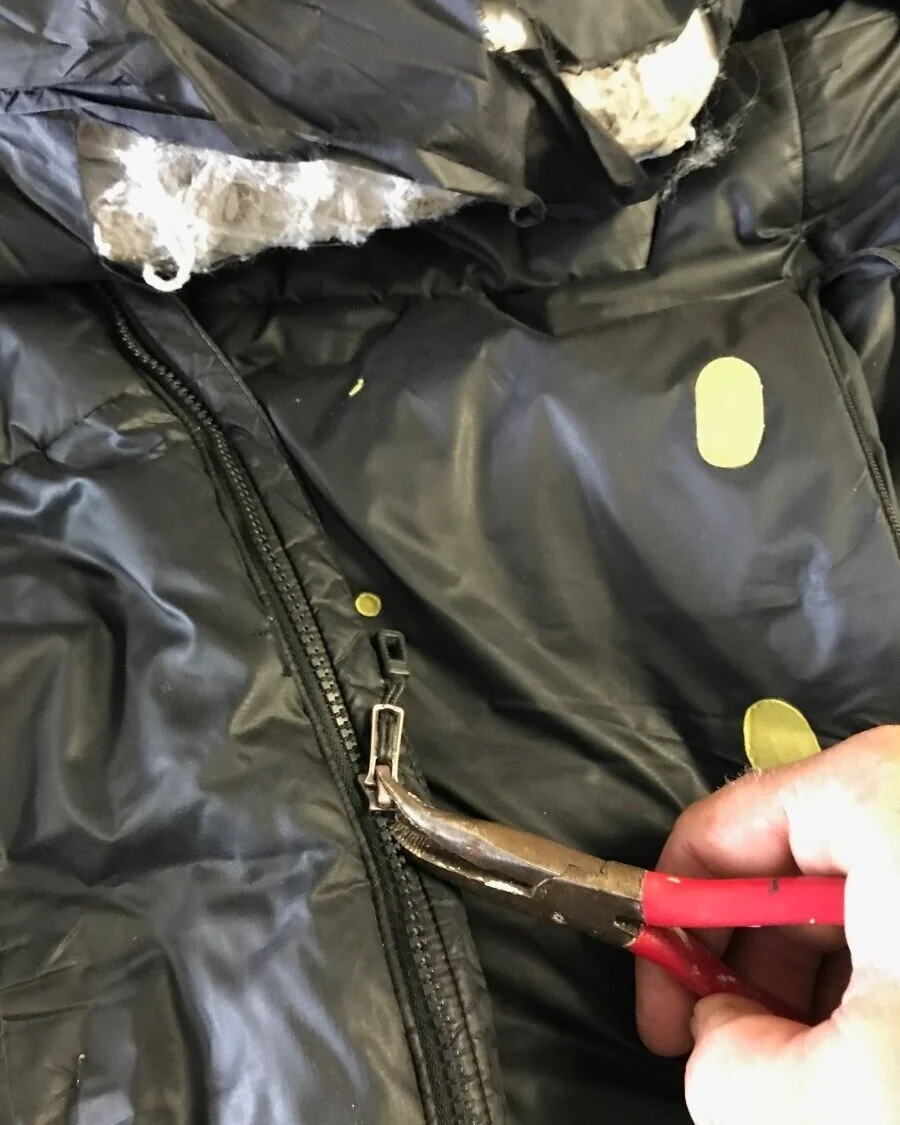
First, identify the top of the zipper track. Use your pliers to gently pry off the metal or plastic top and bottom stops (the small bits at the ends of the teeth that prevent the slider from falling off). Once the stops are gone, you can slide the old, broken slider off the track. If the slider is stuck, a seam ripper can help you gain a little bit of slack in the fabric tape to maneuver the hardware off.
Line up the wings of the new slider with the teeth at the top of the track. Slowly feed the teeth into the slider and pull it down. If it clicks into place and starts zipping, you have succeeded. Always finish the job by clamping a new stop onto the track. This prevents the new slider from sliding right off the end the next time you use it. Knowing how to replace a broken zipper slider on a jacket is much easier once you realize you don't actually have to sew the whole zipper track into the garment.
Maintenance: Extending the Life of Your Hardware
The best way to handle outdoor gear zipper repair is to prevent it in the first place. Most zippers fail because they are ignored. After a muddy hike or a trip to the beach, take a soft toothbrush and some warm water to your zippers. Scrubbing the teeth removes the grit that eventually grinds down your sliders.
Using a specialized Gear Aid cleaner or dedicated lubrication sticks can keep the action smooth. Avoid using petroleum-based lubricants like WD-40, as these can actually attract more dirt and eventually degrade the waterproof coatings on high-end technical shells. Also, be wary of high-heat mechanical dryers. Excessive heat can warp the plastic teeth of a Vislon zipper or melt the tape of a nylon coil zipper, leading to permanent misalignment.
When to Seek Professional Help
While Most outdoor gear zipper repair tasks are manageable at home, some situations require an expert hand. If the fabric tape that holds the zipper to the jacket is frayed, torn, or separated from the garment, home remedies won't hold. Likewise, if the zipper is missing more than two teeth in a row, the entire track must be unstitched and replaced.
Specialized technical repair centers possess the heavy-duty sewing machines required to punch through the thick fabrics used in packs and tents. Many outdoor brands offer robust warranties or low-cost repair services. Check with the manufacturer first; brands like Patagonia or REI often have programs dedicated to keep your gear in the field and out of the landfill.
FAQ
How do you fix a zipper that keeps splitting?
A zipper that splits usually has a slider that has come loose. You can use needle-nose pliers to gently squeeze the two sides of the slider together, which restores the tension needed to lock the teeth. If this doesn't work, the slider is likely worn down internally and should be replaced with a matching model from a zipper repair kit.
Can a tent zipper be repaired or does it need replacement?
Most tent zippers can be repaired, especially if the issue is a worn-out slider or dirt buildup. Replacing the slider is a common and effective fix. However, if the zipper teeth are missing or the tape is torn away from the tent body, the entire zipper assembly will likely need to be professionally replaced.
How do I fix a stuck zipper on outdoor gear?
Start by checking for snagged fabric caught in the teeth. If the zipper is clear but won't budge, clean the track with a brush and water to remove debris. Apply a zipper lubricant or a wax stick to the teeth to reduce friction. Never force a stuck zipper, as this can tear the fabric or break the slider.
How do you replace a broken zipper slider on a jacket?
To replace the slider, use pliers to remove the metal stops at either the top or bottom of the zipper track. Slide the old slider off and slide a new one of the exact same size and type (like #5 coil) onto the track. Once the new slider is on and functioning, clamp new stops onto the ends to secure it.
What is the best way to lubricate a stiff outdoor zipper?
The best way is to use a dedicated zipper lubricant or wax stick designed for technical gear. For a quick fix in the field, unscented lip balm or a paraffin candle can work. Avoid oil-based lubricants that attract dirt, which can lead to further wear and tear on the zipper teeth over time.