Quick Facts
- The 60% Rule: Consider gear replacement only if professional repair costs exceed 60% of the original retail value.
- Environmental Impact: Research shows that extending the lifespan of a garment by just nine months can lead to a reduction of their associated carbon footprint, water consumption, and waste production by 20% to 30%.
- Diagnostic Signal: Tacky, sticky, or flaking interior fabric is a definitive sign of polyurethane (PU) coating delamination, often marking the functional end of life for that material.
- Chemical Compatibility: Always match your chemistry; never apply silicone-based sealers to PU-coated fabrics, as they will not bond correctly.
- Immediate Solution: To fix a broken tent zipper in the field, use pliers to gently crimp the slider walls back together. For fabric punctures, apply a patch of Tenacious Tape to a clean, dry surface, ensuring the patch extends 0.5 inches beyond the tear.
- Restoration Potential: Currently, 82% of products classified by brands as waste can be restored to full functionality through simple cleaning, mending, or hardware replacement.
Empowered outdoor gear repair begins with situational awareness: to fix a broken tent zipper in the field, use a pair of pliers to gently crimp the zipper slider if it has lost its grip on the teeth, or clean the grit from the track with a brush. For fabric tears, applying Tenacious Tape or a gear-specific adhesive patch to the clean, dry surface ensures a durable fix, provided the patch extends at least half an inch beyond the damaged area to prevent peeling.
The Professional Framework: Prioritizing Your Kit
Before diving into the mechanics of DIY outdoor equipment maintenance, every adventurer needs a mental framework to distinguish between a minor nuisance and a safety failure. We treat our equipment as assets, and like any high-performance asset, they require a structured maintenance philosophy. This starts with the Asset Criticality Matrix, which helps you prioritize safety-critical items—such as climbing ropes, load-bearing harnesses, and multi-fuel stoves—over cosmetic issues like a faded backpack lid.
Establishing a routine outdoor equipment maintenance schedule for beginners is the most effective way to prevent catastrophic failures. A standard cycle involves three phases: Cleaning (removing contaminants after every trip), Inspecting (checking high-stress points like shoulder strap stay-points and seam tape), and Calibrating (checking stove seals and water filter flow rates). By systematizing your approach, you move from reactive repairs to proactive gear longevity.
When a piece of kit does fail, we apply the 60% Rule for decision support for repairing vs replacing worn gear. If a professional repair shop quotes you more than 60% of the replacement price, or if the structural integrity of a safety-critical item is compromised, it is time to retire the gear. However, for most outdoor gear repair needs, a few dollars in materials can save hundreds in replacement costs.
| Gear Status | Action Required | Cost Analysis |
|---|---|---|
| Minor Tear / Leaking Seam | DIY Patch or Seal | < 5% of Value |
| Failing Zipper Slider / Clogged Filter | Component Replacement | 10-20% of Value |
| Extensive Delamination / Major Structural Rip | Professional Service | 30-60% of Value |
| Safety Compromise (Cracked Helmet, Frayed Rope) | Retirement / Replace | 100% (Safety Priority) |
Waterproofing and Fabric Restoration: Chemistry Matters
The most common complaint among hikers is a "leaking" rain jacket. Often, the jacket isn't actually leaking; the face fabric is "wetting out" because the Durable Water Repellent (DWR) has worn off. When this happens, the fabric becomes saturated, preventing your sweat from escaping and making you feel wet from the inside. Restoring waterproof coating on jackets is a fundamental skill that preserves the technical performance of your most expensive layers.
Restoring DWR waterproof coating on rain jackets involves two distinct steps: technical cleaning and re-treatment. Household detergents contain perfumes and surfactants that actually attract water. Instead, use a specialized technical wash to remove body oils and dirt. If water still fails to bead after a clean wash, apply a spray-on or wash-in DWR treatment. If the garment's care label allows, a short tumble in the dryer on low heat can reactivate the factory finish, providing a powerful performance recovery for older shells.
For punctures, patching tears in ultralight down sleeping bags or technical shells requires an airtight seal. Using Tenacious Tape is the gold standard here. Unlike duct tape, which leaves a sticky residue and peels over time, these technical adhesives use a high-bond polymer that stays flexible in sub-zero temperatures. Always round the corners of your patch to prevent them from catching on other gear and peeling.
Pro-Tip: Not all waterproof fabrics are the same. If you are sealing seams, verify if your tent is Silnylon (which requires silicone-based sealers like Seam Grip + SIL) or PU-coated polyester (which requires water-based sealers like Seam Grip + TF). Mixing these up will result in a messy, non-functional bond.
Mastering Hardware: Zippers, Poles, and Buckles
Mechanical failures are often the reason gear gets tossed into the landfill, but most hardware issues are solvable with basic tools. Understanding tent zipper repair techniques is critical because a failed entry can turn a comfortable night into a bug-infested or freezing ordeal. Zipper sliders fail when the metal housing stretches, losing its ability to interlock the teeth.
If you are learning how to repair broken tent zippers in the field, your best tool is a small pair of pliers. Gently squeeze both sides of the zipper slider to tighten its grip. Be careful—over-crimping can lock the slider permanently. To prevent this issue entirely, practice routine zipper lubrication using a wax-based lubricant or even a bit of candle wax to reduce friction and wear on the teeth.
Tents also face the risk of snapped poles during high winds. Knowing emergency tent pole repair techniques in the wild can save a trip. Most modern tents include a lightweight aluminum repair sleeve (a splint). Slide this sleeve over the break and secure both ends with tape. If you don't have a splint, a sturdy tent stake and some paracord can act as a makeshift bypass until you reach civilization.
Building the Ultimate DIY Gear Repair Kit
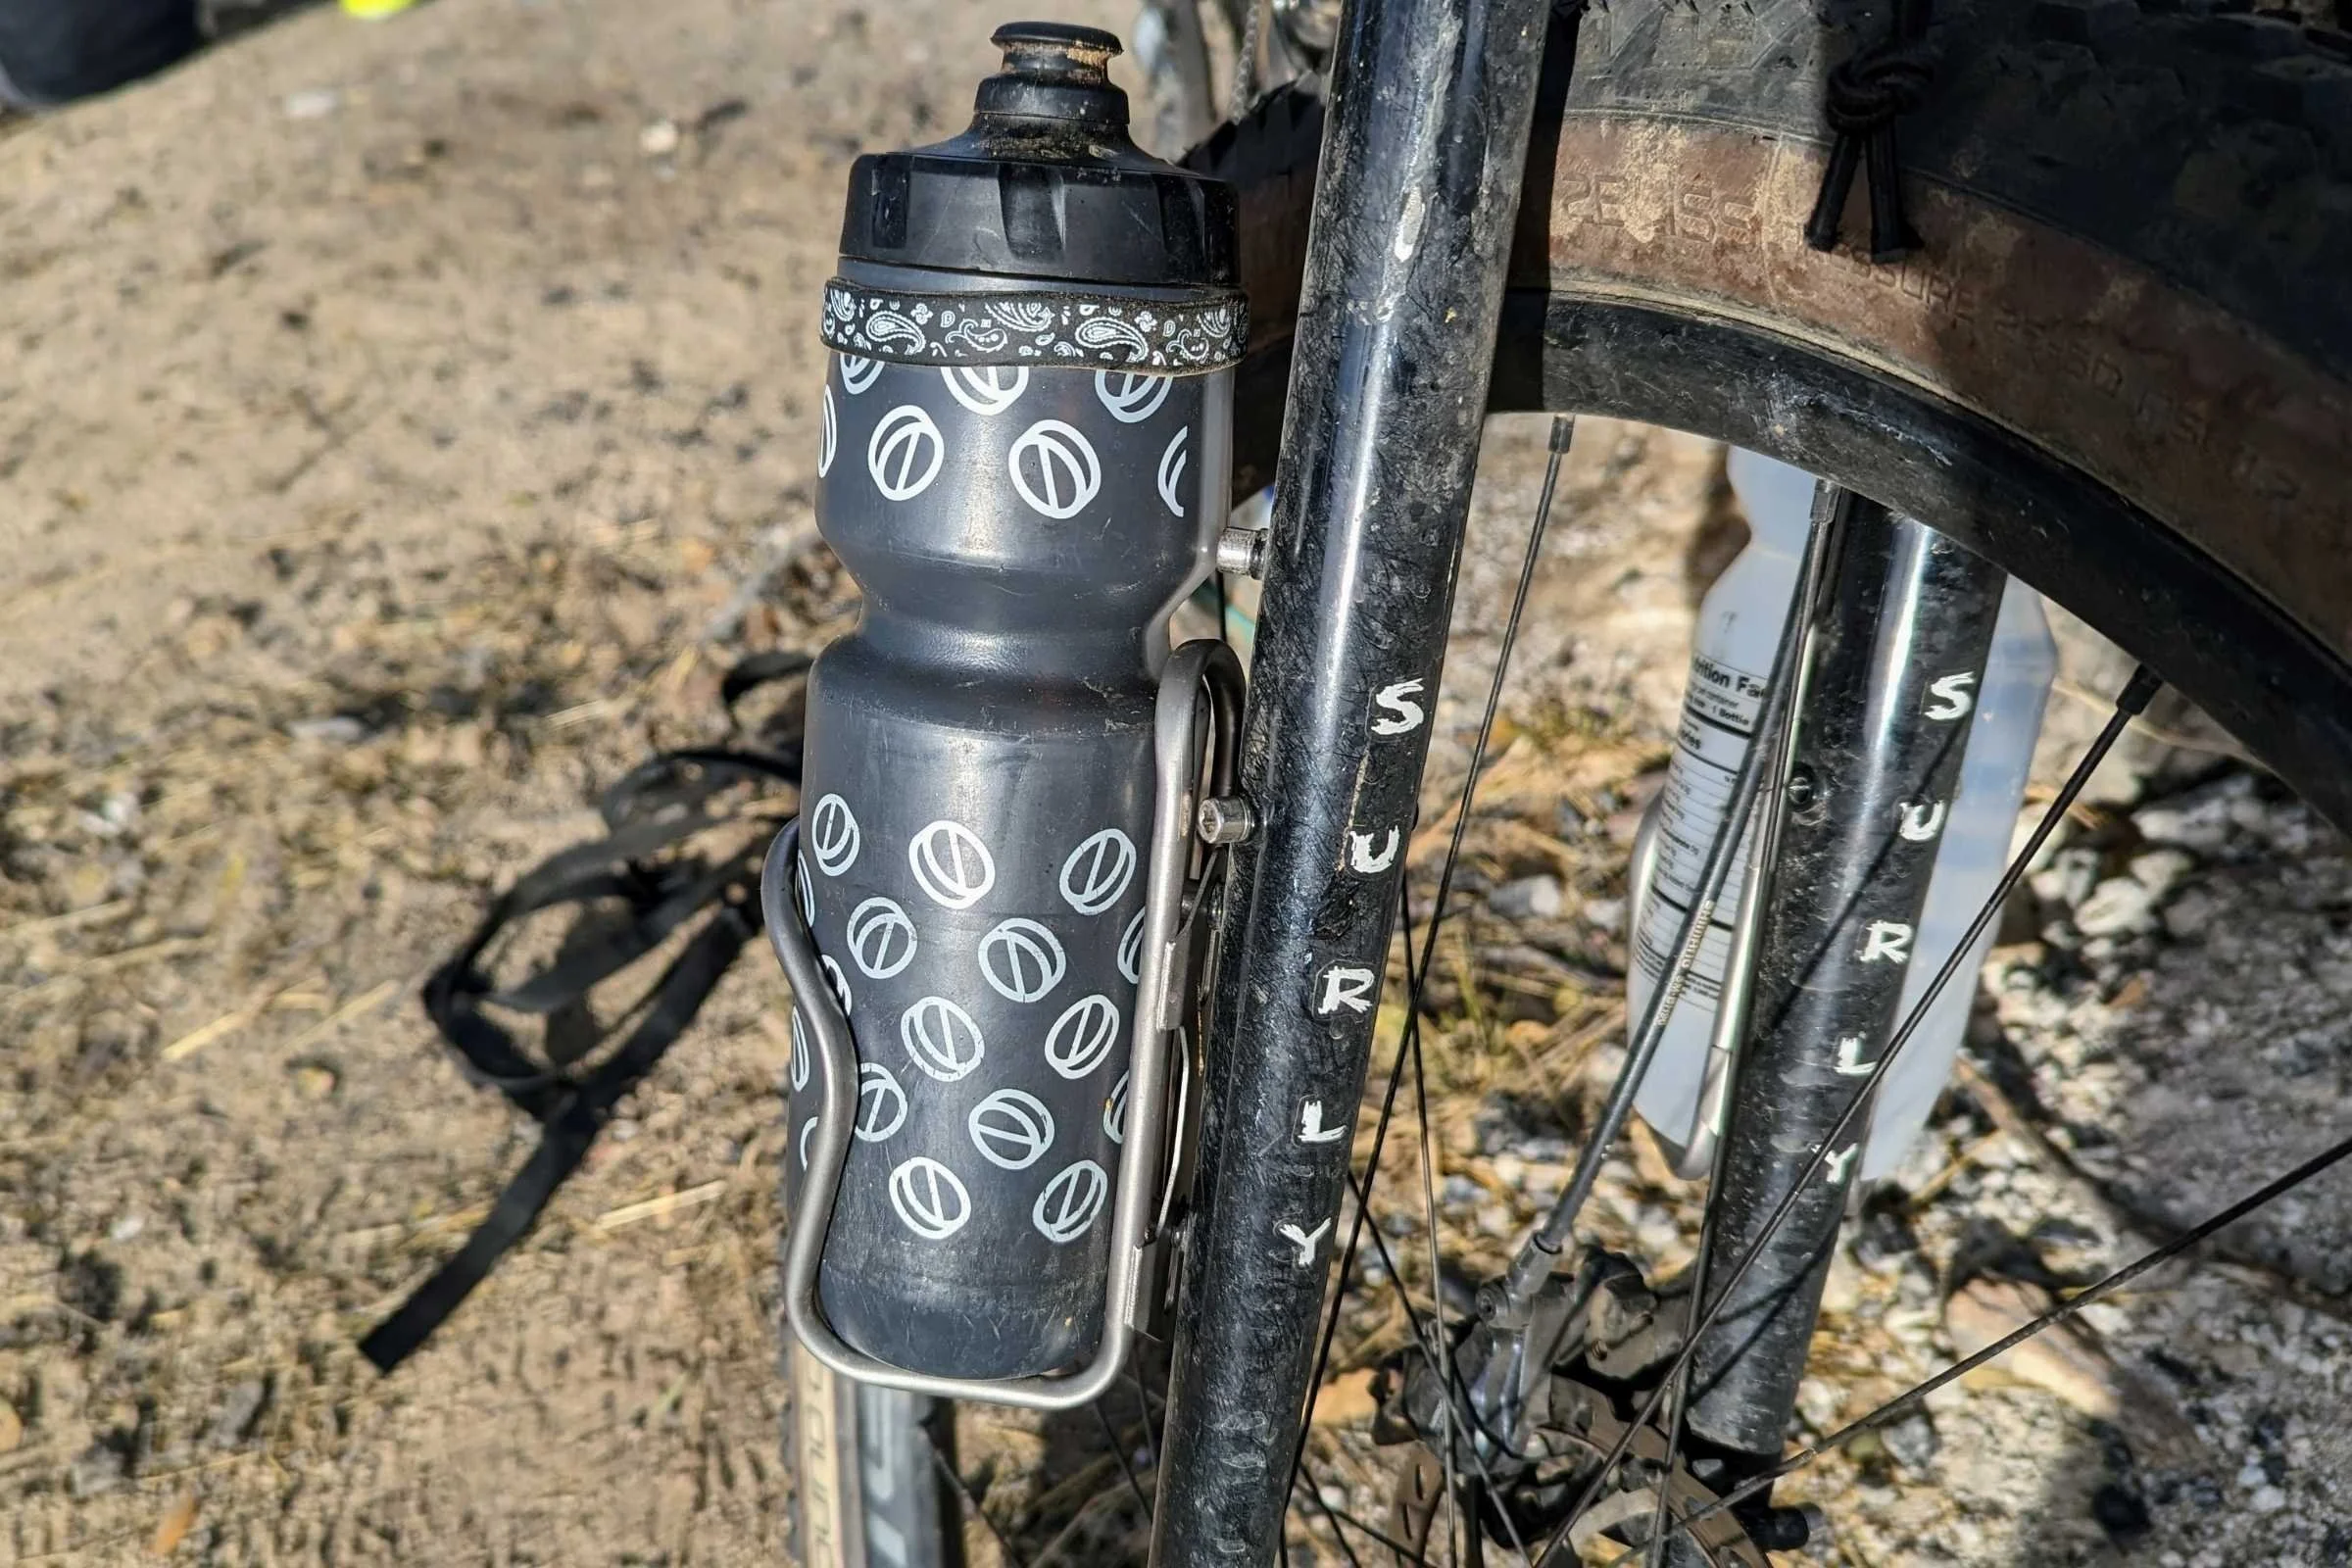
Every backpacker should carry a field-ready kit designed for their specific equipment. This kit should be lightweight but comprehensive enough to handle the most likely failure points. Relying on your kit transforms you from a victim of circumstance into a capable steward of your equipment.
The Essential Repair Checklist
- Adhesives: A small roll of Tenacious Tape and a tube of Gear Aid Seam Grip.
- Tools: A multi-tool with needle-nose pliers and a sharp blade.
- Hardware: Spare zipper sliders, one universal replacement buckle, and a tent pole repair splint.
- Soft Goods: A heavy-duty sewing needle and upholstery-grade polyester thread.
- Binding: A few UV-resistant zip ties and 20 feet of 2mm paracord.
Beyond the physical tools, maintaining a gear log helps track maintenance cycles. Note when you last applied a DWR treatment or replaced the batteries in your headlamp. This preventative maintenance ensures that hardware like tent poles or buckles that show signs of stress fatigue are identified for preemptive replacement before they fail in a remote location.
Sustainability: The Circular Economy of Gear
The choice to repair rather than replace is more than just a financial decision; it is a vital contribution to the circular economy. The outdoor industry has a significant environmental footprint, but we can significantly mitigate this by being more intentional with our consumption. Data suggests that doubling the active use of a piece of clothing or gear can reduce the greenhouse gas emissions associated with its lifecycle by nearly 50%.
Every time you choose outdoor gear repair over a new purchase, you are preventing raw material extraction and the energy-intensive manufacturing process. Gear longevity is the ultimate form of sustainability. Furthermore, by repairing items, we reduce the amount of technical textiles that end up in landfills, where they can take centuries to decompose and shed harmful microplastics.
True mastery of the outdoors isn't just about how many peaks you summit or how fast you trek; it’s about the relationship you have with the tools that get you there. By treating your kit with respect and learning the skills to restore its function, you become a more resilient and responsible adventurer.
FAQ
How do you repair a tear in a waterproof jacket?
Clean the area around the tear with isopropyl alcohol to remove oils. Trim any loose threads from the fabric. Apply a patch of Tenacious Tape, ensuring it is at least half an inch larger than the tear in all directions. Smooth out any air bubbles, starting from the center and moving outward. For a permanent, professional-grade fix, you can apply a thin layer of seam sealer to the edges of the patch after it is applied.
Is it better to repair or replace outdoor gear?
This depends on the 60% Rule: if the repair cost is less than 60% of the replacement price, repair it. If the item is safety-critical, like a climbing rope or a helmet, and its integrity is even slightly in doubt, replacement is the only responsible option. For most shells, tents, and boots, minor repairs and DWR restoration can extend their life for several years.
How do I fix a broken zipper on a backpack?
If the zipper is separating behind the slider, the slider itself has likely stretched open. Use pliers to gently squeeze the top and bottom of the slider together until it catches the teeth again. If the teeth are missing or the fabric tape is torn, you may need to replace the entire zipper unit, which typically requires a professional sewing service.
How do I restore the water repellency of my outdoor gear?
Start by washing the item with a technical detergent like Nikwax Tech Wash to remove dirt and oils. If water still does not bead on the surface after washing, apply a wash-in or spray-on DWR treatment while the garment is damp. Finally, check the care label and, if permitted, tumble dry the item on low heat for 20 minutes to thermally activate the new coating.
What items should be in a DIY gear repair kit?
An essential backpacking gear repair kit should include Tenacious Tape, a small tube of Seam Grip, a multi-tool with pliers, replacement zipper sliders, a tent pole splint, a length of paracord, zip ties, and a heavy-duty needle with high-strength thread. These items cover about 90% of common field failures.