Quick Facts
- Direct Answer: To find a leak in a sleeping pad, inflate it fully and submerge it in water or use soapy water to spot escaping air bubbles. For an effective sleeping pad repair, clean the area with alcohol, apply a rounded patch, and allow it to cure.
- Detection Speed: 2-5 minutes using the soapy water method or an alcohol wipe.
- Cure Time: 8 hours for minimum weight-bearing to 24 hours for a permanent, airtight bond.
- Material Science: Most pads use 10D-40D polyester or nylon; these require a TPU-compatible adhesive for proper bonding.
- Common Failure: Research indicates that valve sealing errors account for more slow air leaks than physical punctures to the fabric.
- Temperature Factor: A 10°C drop in temperature causes a 10% pressure drop, which can mimic the sensation of a leak.
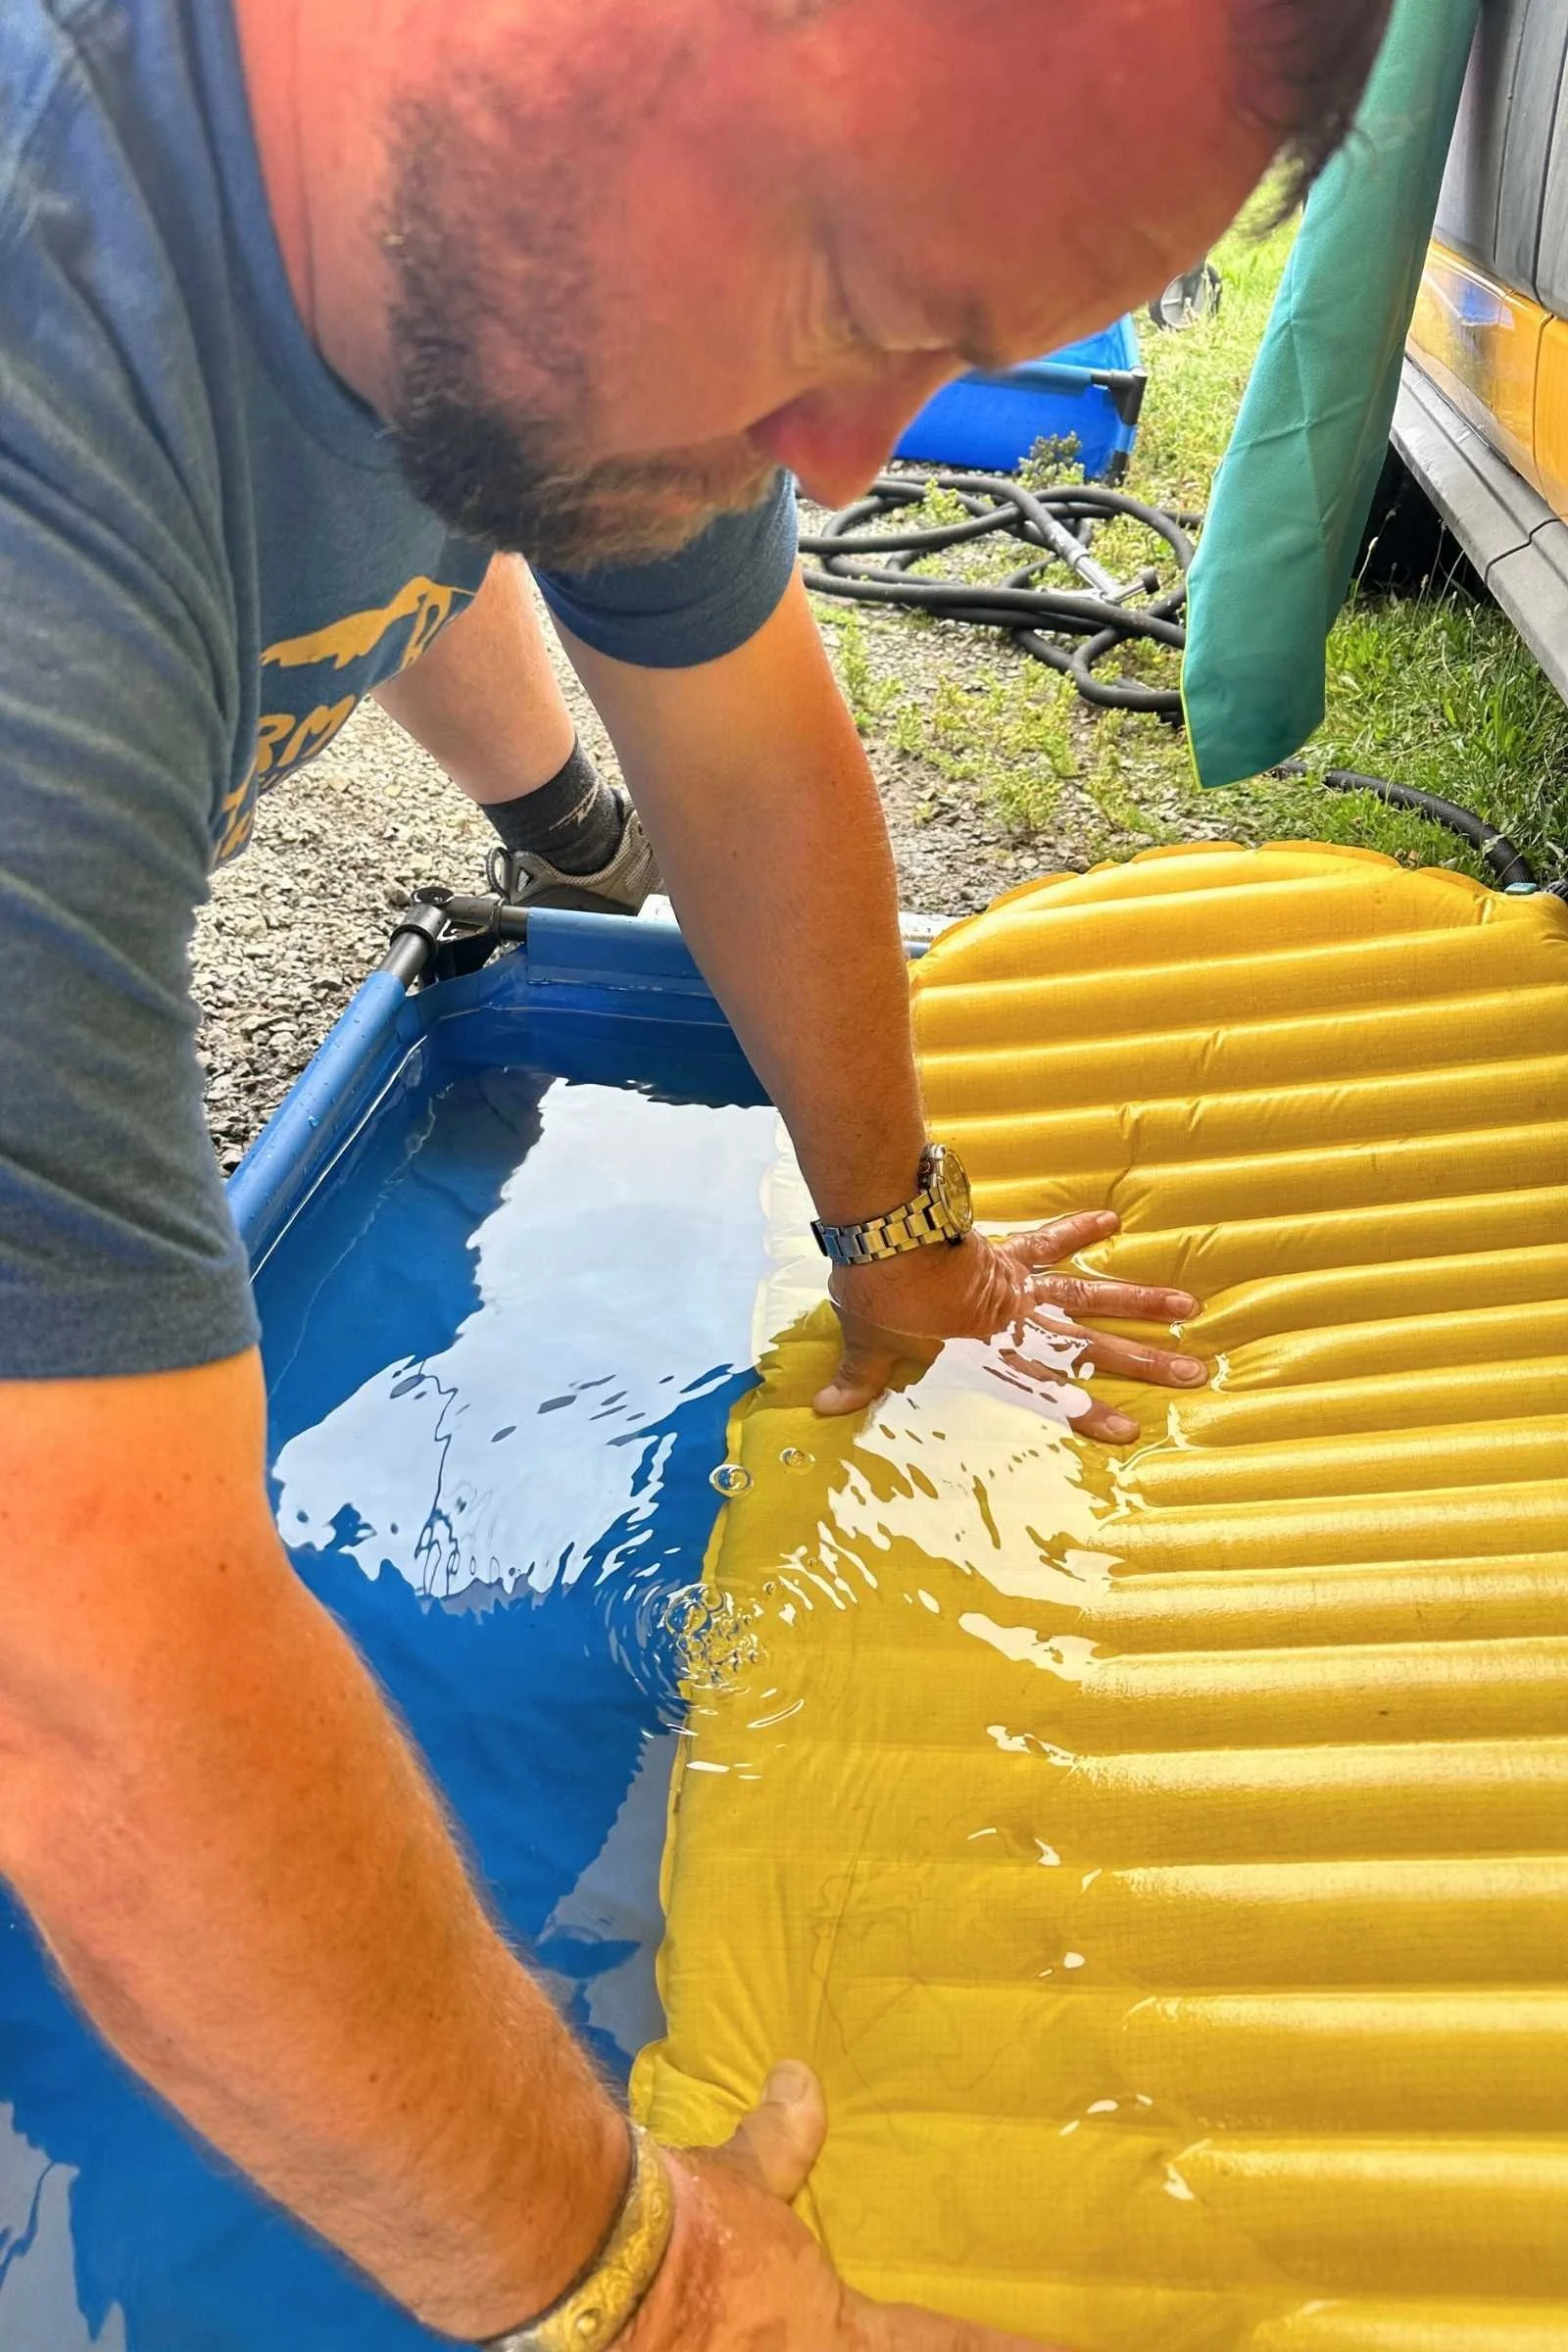
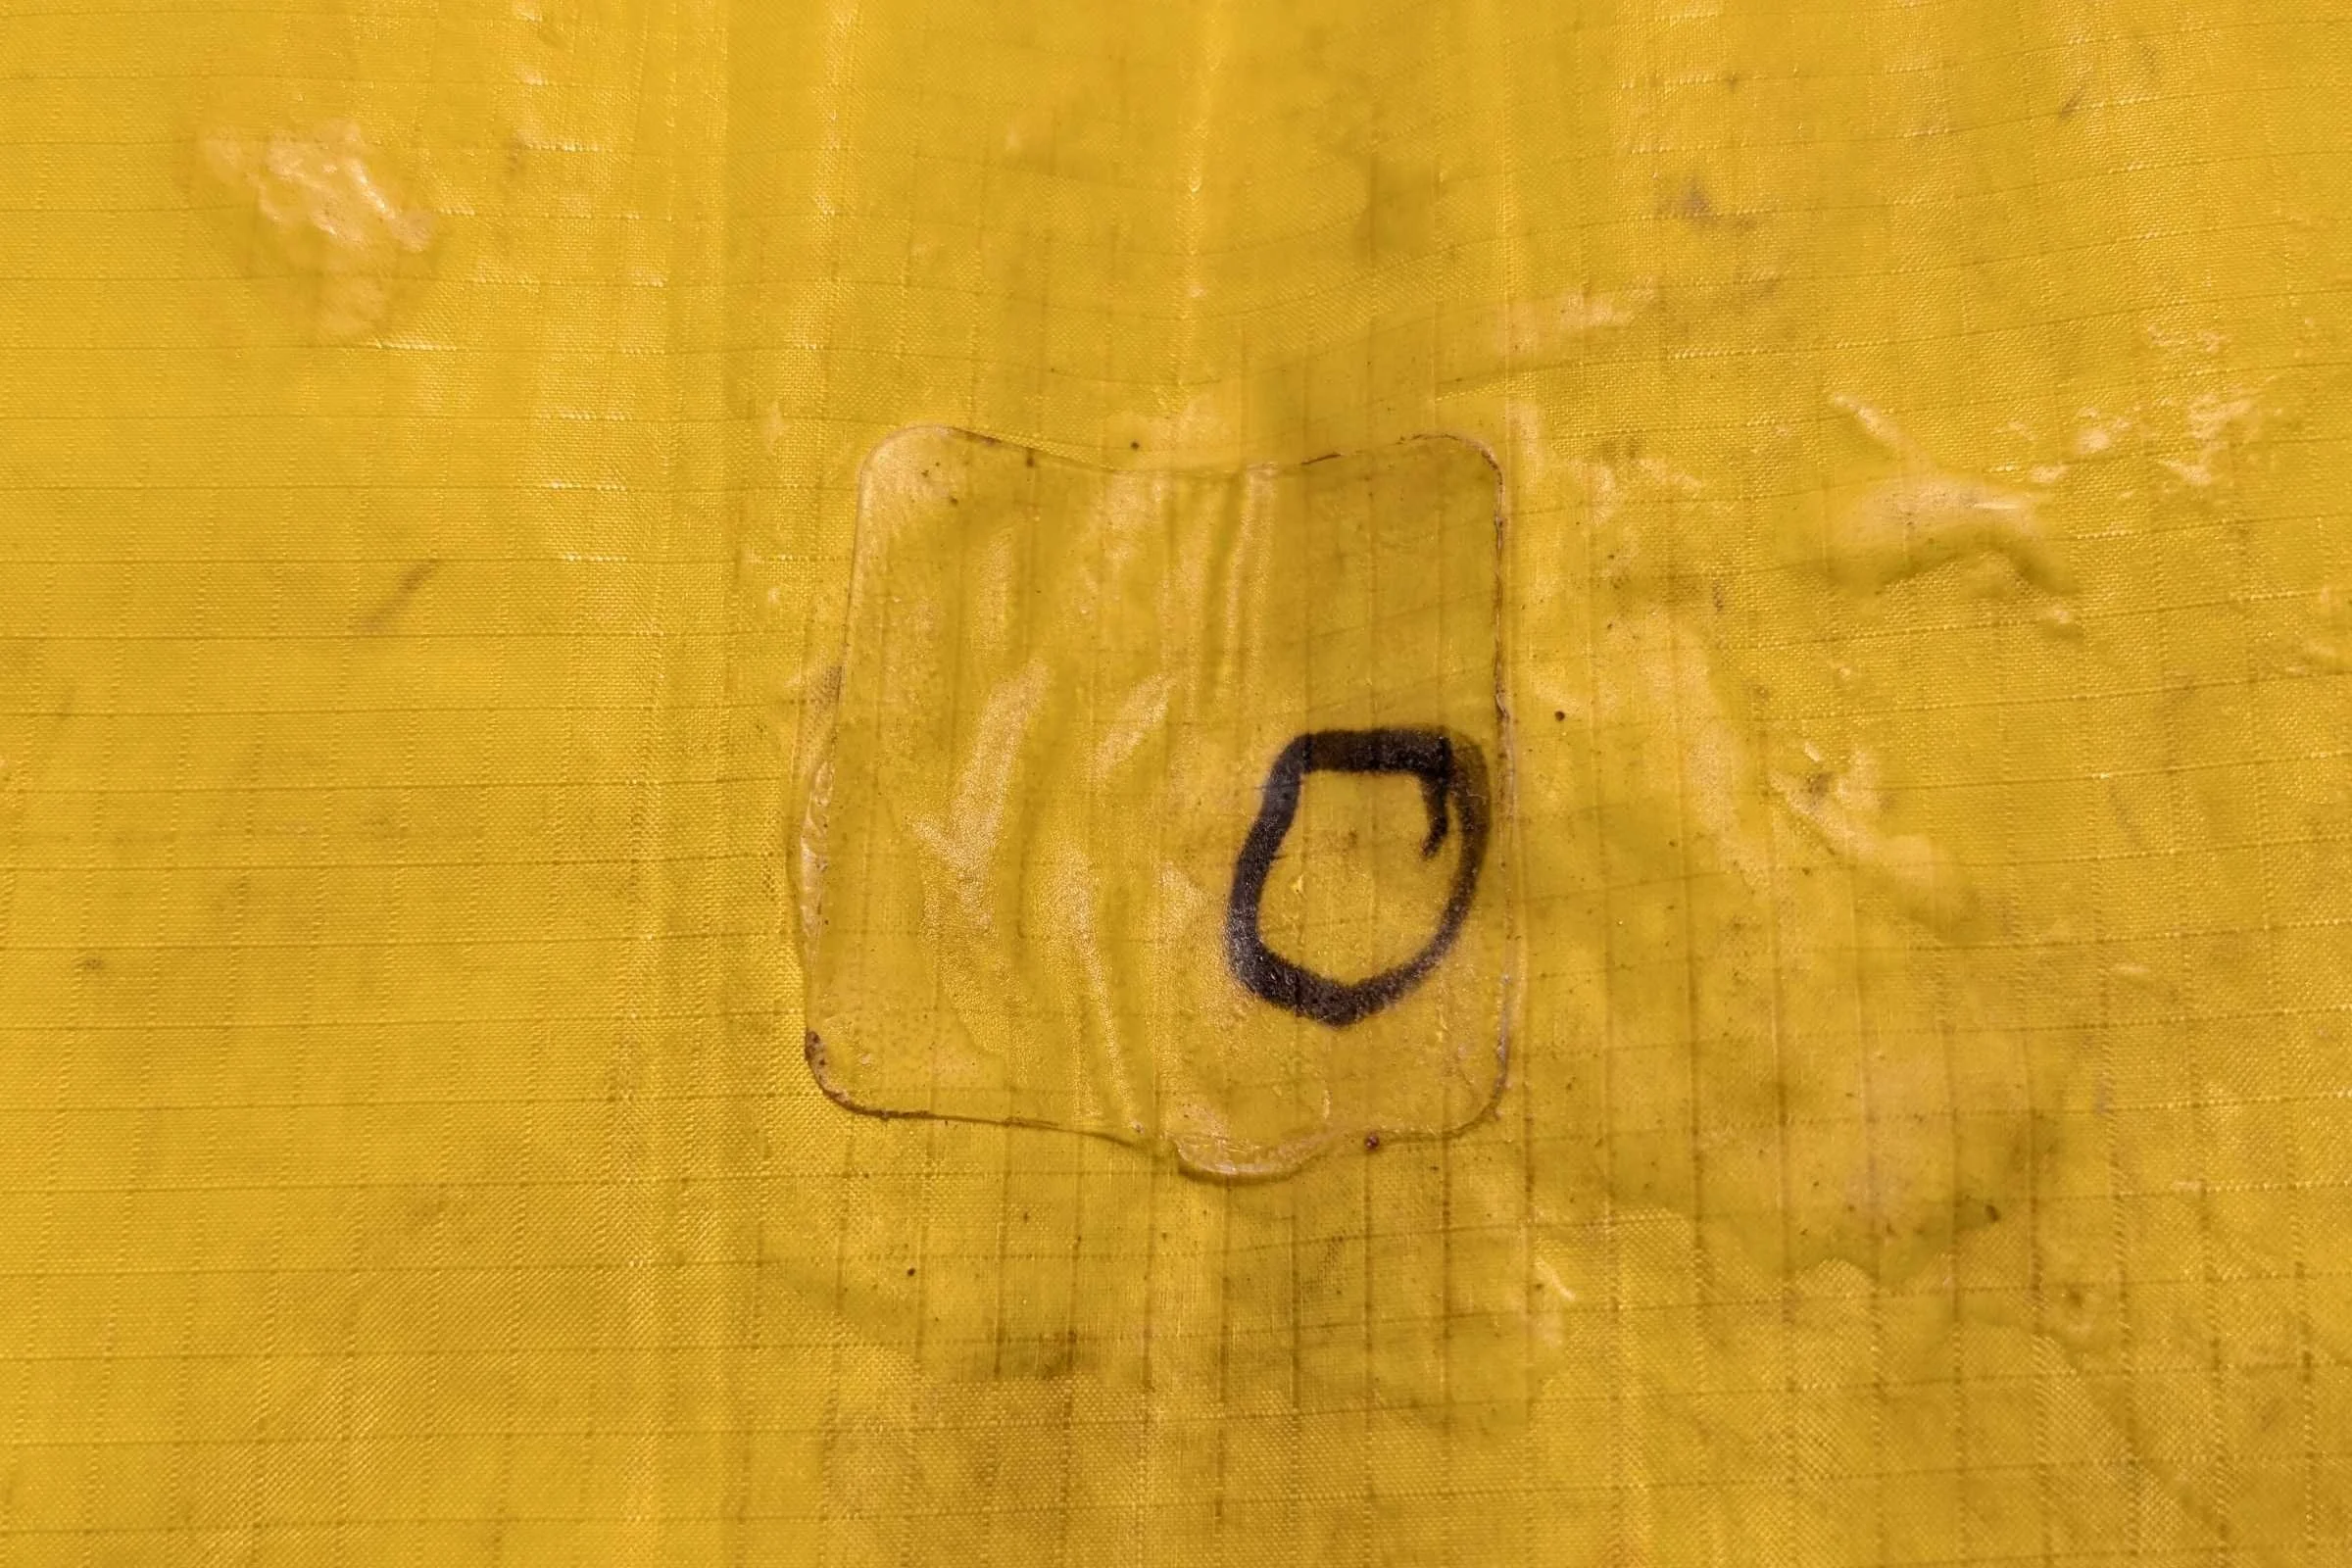
To perform a successful sleeping pad repair, start by inflating the mattress fully and submerging it in water to look for escaping air bubbles. In the field where water is limited, use a spray bottle with soapy water or a moistened alcohol wipe; bubbles will form at the puncture site. Once the hole is identified, mark it with a permanent marker to ensure the spot is not lost when the pad is deflated for the patching process. For a permanent fix, clean the area around the puncture thoroughly with an alcohol prep pad to ensure adhesion. Apply a patch from a repair kit, ensuring the material is larger than the hole and has rounded edges to prevent peeling or snagging. If using a liquid adhesive like Gear Aid Seam Grip, apply it liberally, allow it to become tacky, and then press the patch down firmly, allowing it to cure completely before re-inflating the pad.
The Diagnostics Lab: How to Find the Leak
There is a specific kind of frustration that comes with waking up at 3:00 AM on the cold, hard ground because your ultra-light mattress gave up the ghost. Before you can fix it, you have to find it. Finding a slow leak in a sleeping pad is often the hardest part of the entire process. Start with your senses: inflate the pad to its maximum capacity and listen closely while applying pressure with your torso. Sometimes a high-pitched hiss will give away the location immediately.
If the "listen and feel" method fails, move to the soapy water technique. This is the gold standard for how to find leak in sleeping pad locations while on the trail. Mix a small amount of biodegradable soap with water and wipe it across the surface. Pay close attention to the seams and the valve area first. If there is a puncture, the escaping air will create a cluster of growing bubbles. In a pinch, a simple alcohol wipe can do the same thing—the liquid creates a visible film that reacts to escaping air.
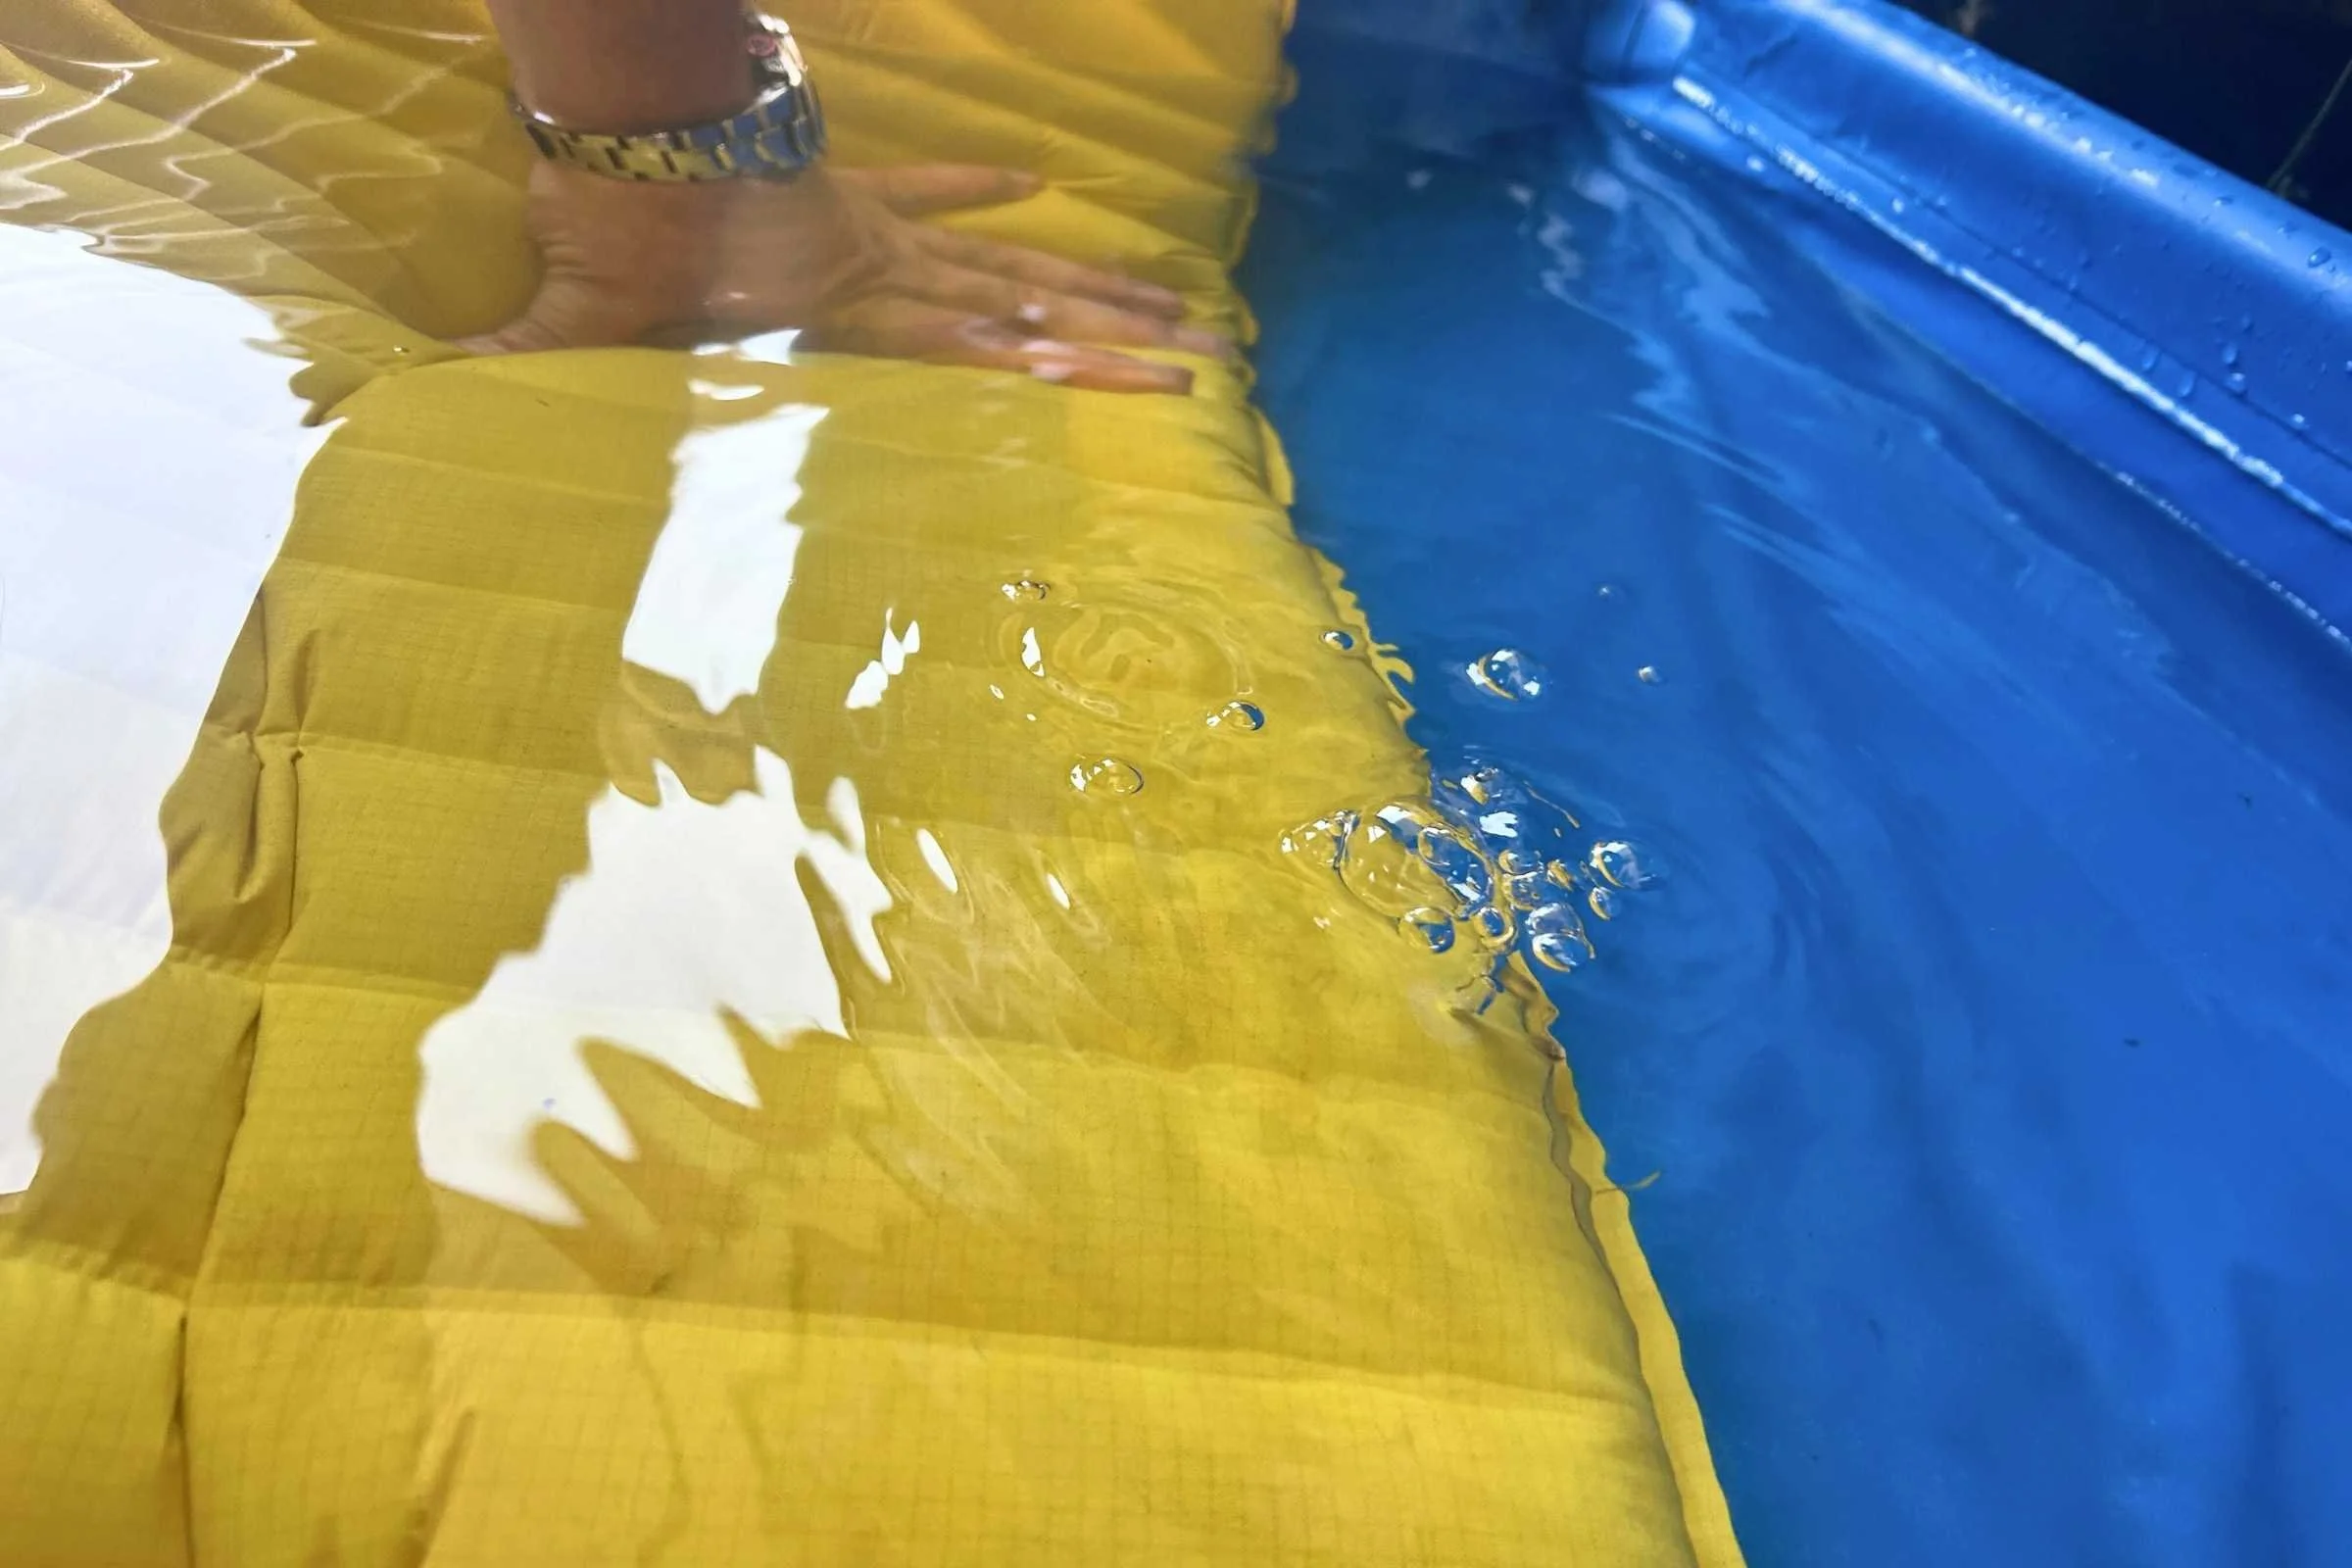
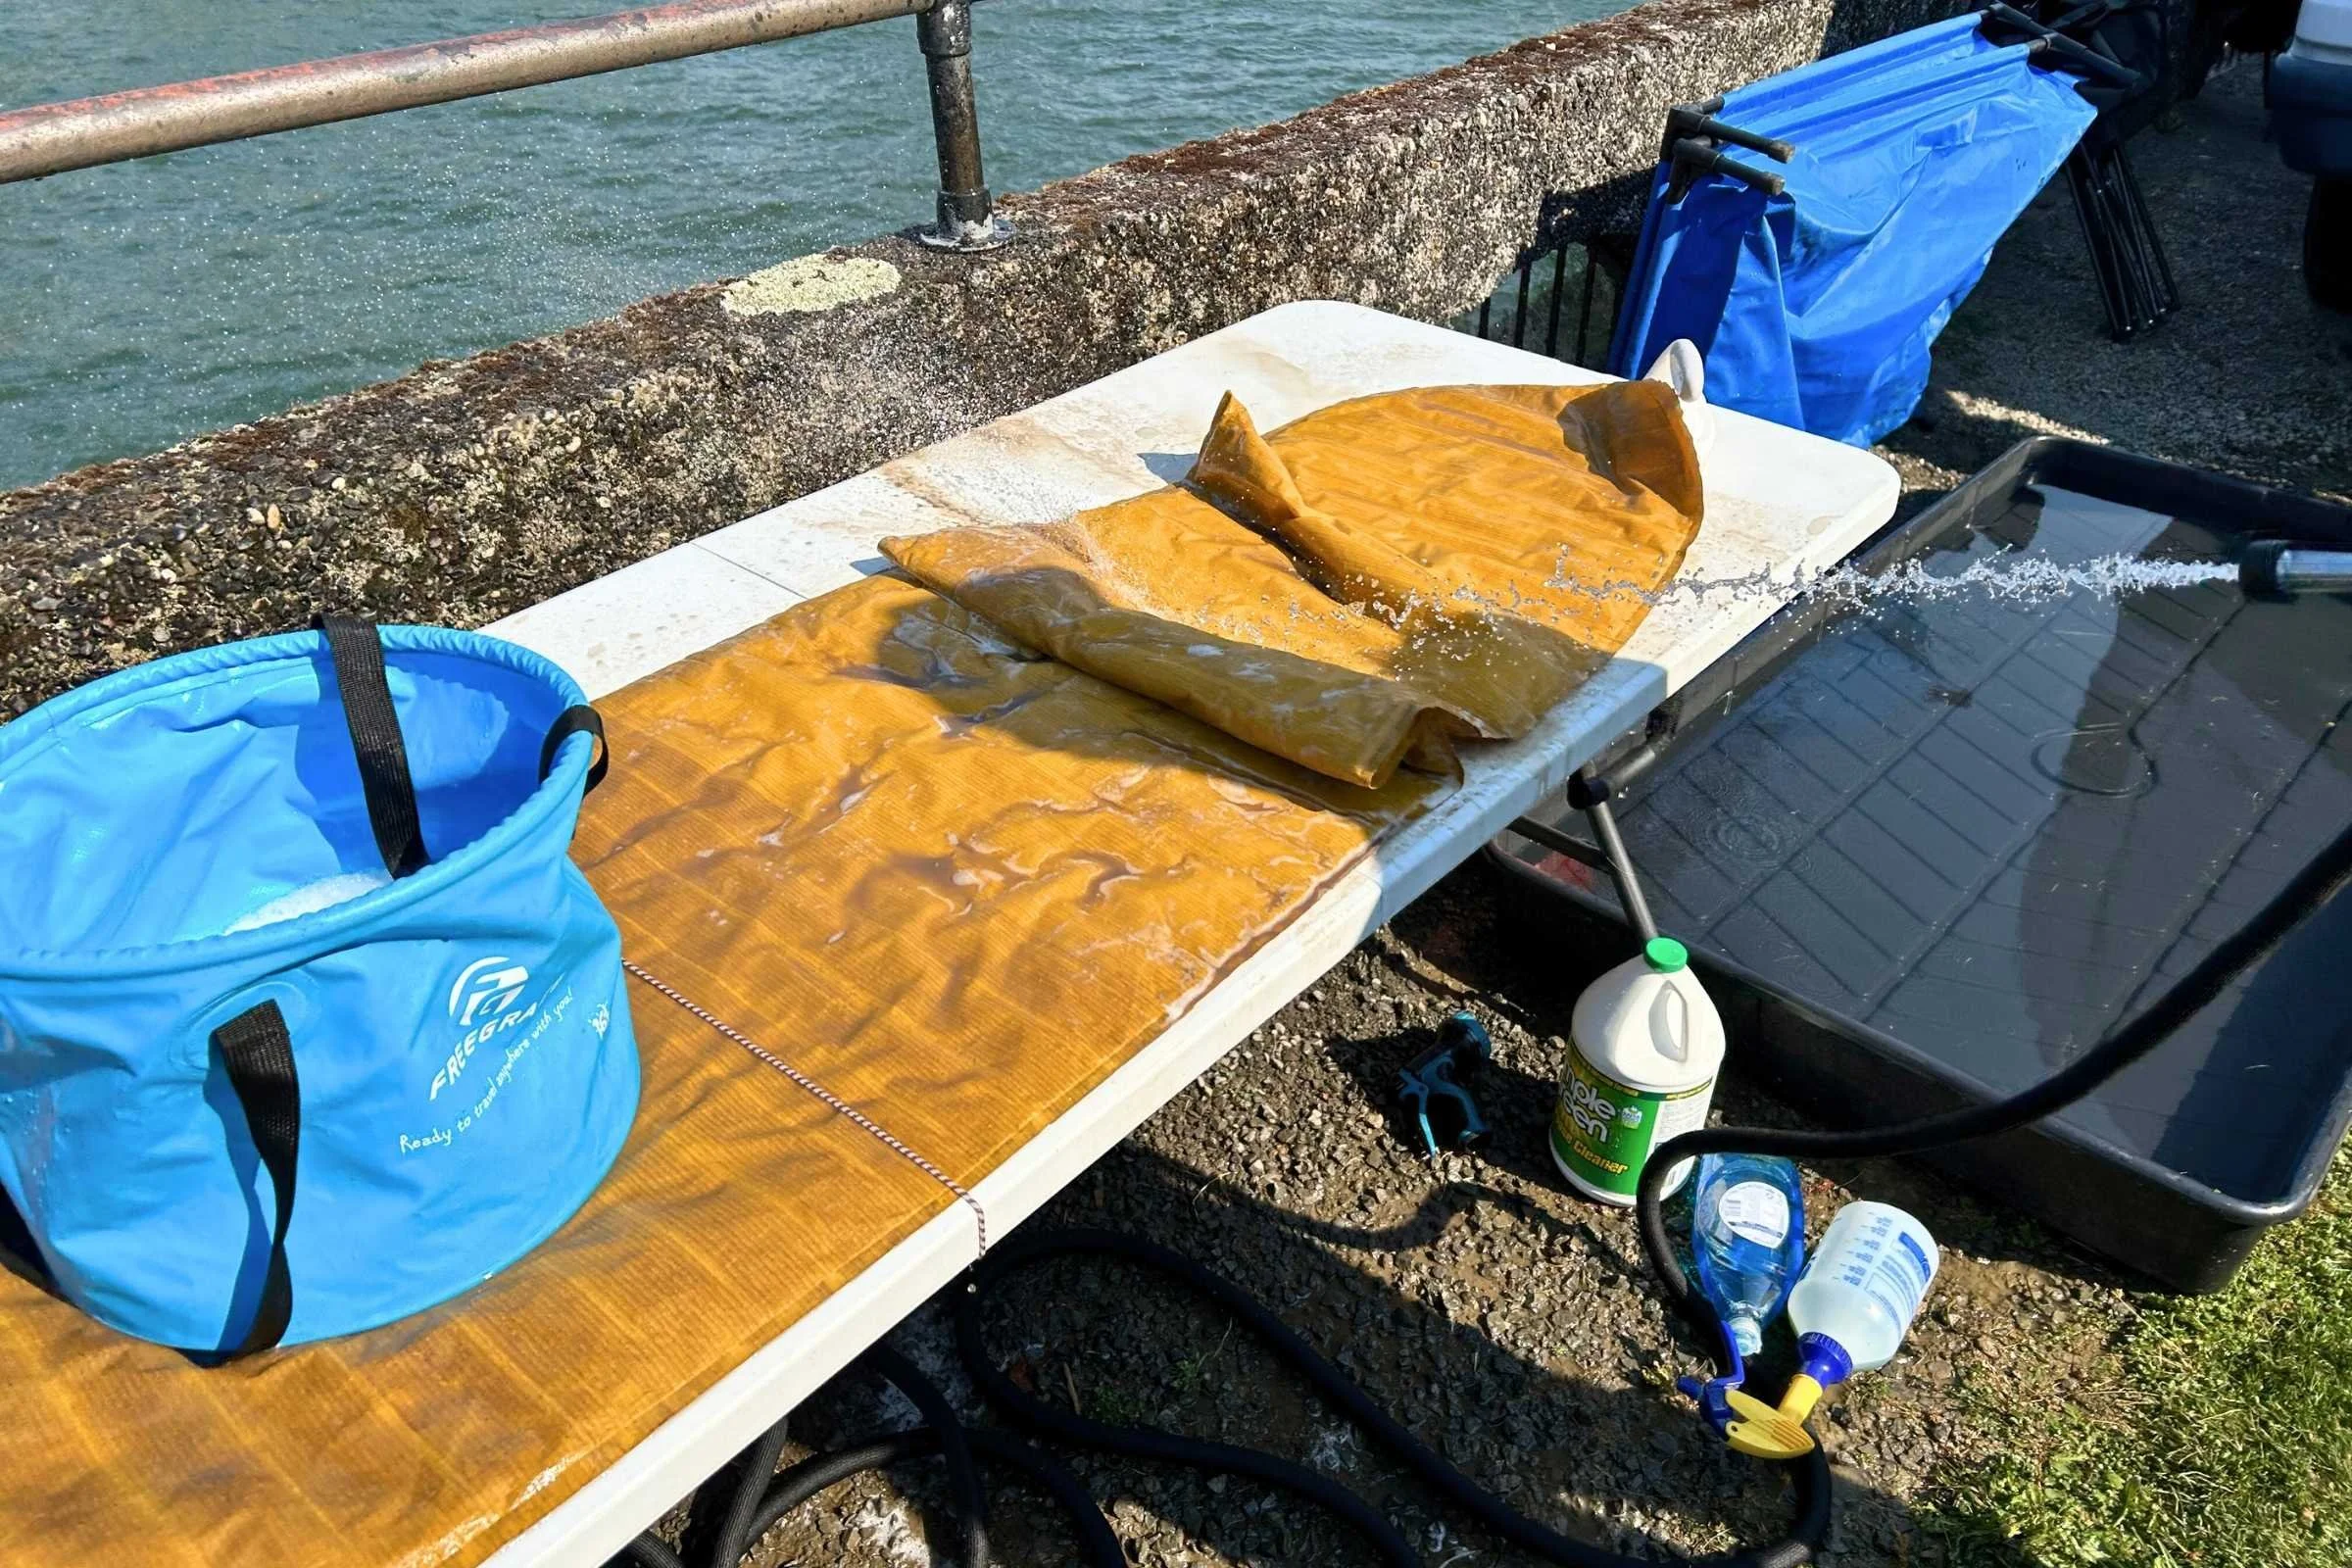
The submersion method is the most reliable diagnostic strategy if you are at home or near a calm lake. Submerge sections of the fully inflated pad underwater and watch for a steady stream of bubbles. Once you identify the culprit, don't stop there. Micro-tear identification can be tricky; sometimes what looks like one hole is actually a cluster of tiny abrasions. Use a piece of tissue paper and run it slowly over the damp surface; the escaping air will lift or move the paper, confirming the leak.
It is also important to consider environmental factors before you start cutting into your gear. Experience shows that every 10°C (18°F) drop in ambient temperature causes a decrease of approximately 10% in the internal air pressure of a mattress. This air contraction often creates the sensation of a leak when the pad is actually perfectly intact. If you inflated your pad in the afternoon heat and woke up soft in the freezing dawn, you might just be dealing with physics rather than a puncture.
Field Triage: Emergency Sleeping Pad Repair
When you are miles from the nearest gear shop, an emergency sleeping pad repair in the field becomes a survival skill. You don't always have the luxury of a 24-hour cure time or a sterile environment. The goal in the field is airtight integrity for just one more night. If you discover a puncture and realize you forgot your kit, look to your first aid supplies.
A DIY camping mattress patch with household items or trail gear can work temporarily. While duct tape is the classic "fix-all," it often struggles with the flexible, silicone-coated fabrics used in modern pads and can leave a gummy residue that makes a permanent repair harder later. If you must use tape, clean the area first with hand sanitizer (which contains alcohol) to remove skin oils and dirt. This improves patch adhesion significantly.
Tenacious Tape is a much better alternative for a sleeping mat puncture repair while on the move. It has a high-strength adhesive that creates a flexible bond, managing the stretch and contraction of the mattress fabric. However, be wary of fabric delamination. If the internal coating of the pad is peeling away from the outer fabric, a simple surface patch might not be enough to hold air. In these cases, focus on keeping the patch as flat as possible and avoid over-inflating the pad, which puts extra stress on the weakened area.
Permanent Restoration: Using a Patch Kit Successfully
For a repair that will last the lifetime of the gear, you need to use a dedicated inflatable sleeping pad patch kit correctly. Most premium pads come with a small kit containing a few circular patches and a tube of adhesive. If you don't have one, Gear Aid Seam Grip is universally regarded as the best polyurethane adhesive for the job.
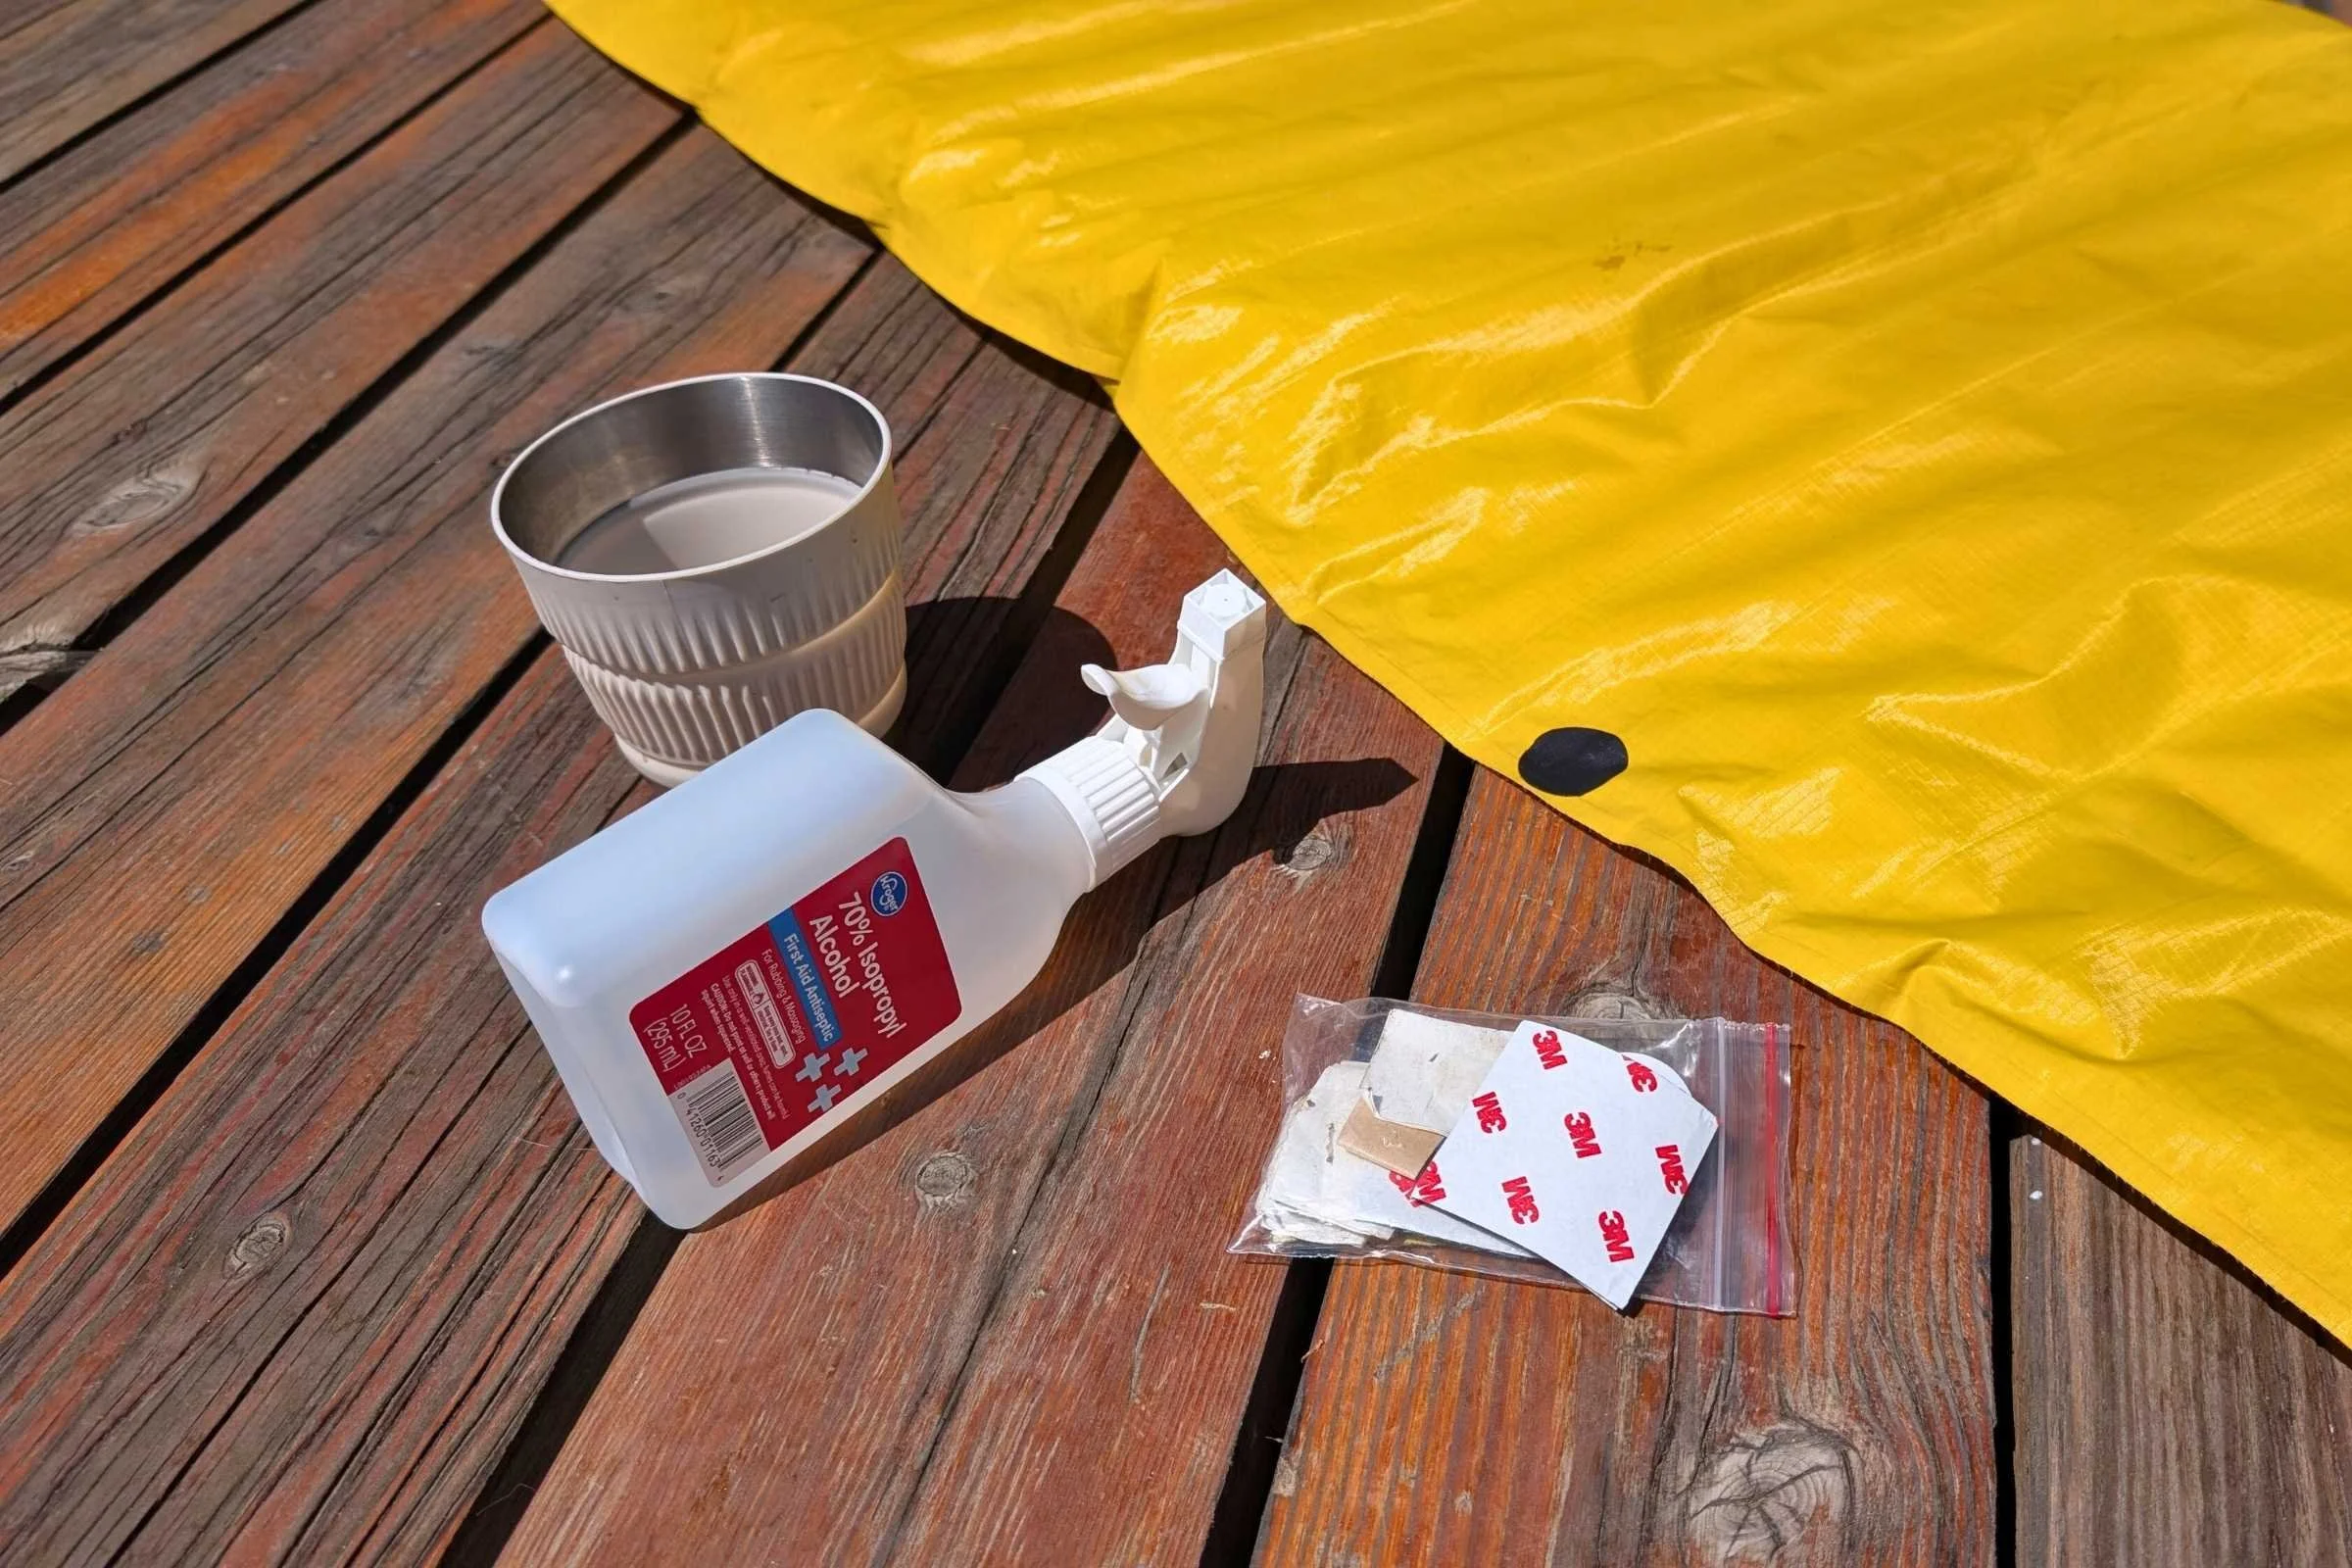
To ensure a professional-grade sleeping pad repair, follow this 5-step framework:
- Locate and Mark: Use the bubble method to find the hole and mark it with a circle at least an inch wide.
- Clean the Surface: Use alcohol prep pads to scrub away oils, dirt, and any soap residue. If your pad has a "flocked" or suede-like surface, you may need to gently sand the area with 150-200 grit sandpaper to reach the airtight laminate layer beneath.
- Deflate Fully: This is critical. If there is air in the pad, it will push through the wet glue and create a "volcano" that will never seal properly.
- Apply and Round: If cutting your own patch, always round the corners. Sharp corners catch on your sleeping bag and peel up over time. Aim for a circular or oval shape that extends at least half an inch past the hole in all directions.
- Cure and Weight: Apply the adhesive, press the patch firm, and place a heavy object (like a pot or a rock) on top.
| Tool/Material | Field Efficacy | Permanent? | Best For |
|---|---|---|---|
| Tenacious Tape | High | Yes | Fabric punctures and tears |
| Duct Tape | Medium | No | Emergency temporary fix only |
| Gear Aid Seam Grip | Low (Slow dry) | Yes | Seams, valves, and heavy-duty holes |
| Alcohol Wipes | High | N/A | Essential surface preparation |
Warning: Always deflate your mattress completely before applying any liquid adhesive or Gear Aid Seam Grip. Applying glue to an inflated pad can cause air to blow through the wet adhesive, creating a permanent, unfixable bubble in the seal.
Troubleshooting Valves and Seams
Sometimes the leak isn't a simple hole in the fabric. Technical manufacturing inspections indicate that valve sealing errors account for more slow air leaks than physical punctures to the mattress material. If your soap test shows bubbles coming from the mouth of the valve, you might be dealing with a dirty Valve O-ring. Dust, sand, or a stray hair can prevent the internal gasket from seating correctly. Use a small brush or a Q-tip to clean the mechanism thoroughly.
Seam failures are a different beast. Because seams are high-stress points where two panels of fabric meet, a simple patch rarely works. To address this, use a liquid sealant like Gear Aid Seam Grip. Paint the adhesive along the bonded edge and let it soak into the fabric for a few minutes before adding a second thin layer.
If you notice fabric delamination—where the internal airtight coating separates from the outer shell—the pad may be reaching the end of its life. While some DIY fixes work for a weekend, larger seam failures are often considered unfixable. If home repairs fail on a premium pad, check with the manufacturer. Many high-end brands offer lifetime warranties for seam failure and valve issues.
Prevention: Protecting Your Sleep Integrity
The best way to fix a leak is to never have one in the first place. Modern air pads use incredibly thin materials to save weight, making them vulnerable to abrasion and sharp objects. Always use a Ground cloth or a tent footprint to provide a secondary barrier between your pad and the forest floor.
The average lifespan of an inflatable airbed varies by quality, with budget models lasting between one and six months of regular use, while premium models can last five years or more with proper care. To maximize your investment and ensure continued airtight integrity, follow these habits:
- Clear the site: Spend thirty seconds clearing away Sharp twigs, pinecones, and rocks before laying down your tent.
- Storage: Never store your pad tightly rolled in its stuff sack for long periods. Store it unrolled with the valve open to prevent moisture from building up inside, which can lead to mold and internal fabric degradation.
- Inflation: Avoid using your mouth to inflate the pad if possible. The moisture in your breath can eventually cause the internal laminate to break down. Use a pump sack instead.
By combining these prevention tactics with a solid understanding of how to execute a sleeping pad repair, you can ensure that a minor puncture never ruins another night under the stars.
FAQ
How do you find a leak in a sleeping pad?
The most effective way is to submerge the fully inflated pad in a bathtub or lake and look for air bubbles. In the field, you can wipe the pad with soapy water or an alcohol prep pad; the escaping air will create visible bubbles at the source of the puncture.
Can you repair a sleeping pad with duct tape?
Duct tape can work as a very temporary emergency fix, but it is not recommended for permanent repair. The adhesive on duct tape can break down and leave a residue that makes it difficult for professional patches to stick later. It also lacks the flexibility needed for the expanding and contracting fabric of a sleeping pad.
How long does a sleeping pad patch take to dry?
The drying time depends on the adhesive used. While "peel and stick" patches like Tenacious Tape are ready almost immediately, liquid adhesives like Gear Aid Seam Grip require at least 8 hours to become tack-free and 24 hours to reach a full, permanent cure.
What is the best glue for sleeping pad repair?
Polyurethane adhesives, specifically Gear Aid Seam Grip, are considered the industry standard. They remain flexible when dry and bond effectively to the TPU or PVC coatings found on most modern inflatable sleeping pads.
Can a leaking valve on a sleeping pad be fixed?
Yes, many valve leaks are caused by dirt or debris. Cleaning the valve with water or a small brush often solves the problem. If the internal O-ring is damaged or the bond between the valve and the fabric has failed, you may need a specific valve replacement kit from the manufacturer.